How to Install Roof Rack on BMW i3 (Complete Step-by-Step Guide)
Installing a BMW i3 roof rack might seem impossible at first.
Why?
Because the BMW i3:
- has no factory roof rails
- has a carbon roof
- doesn’t support traditional mounting systems
That’s exactly why this no-drill roof rack for BMW i3 exists.
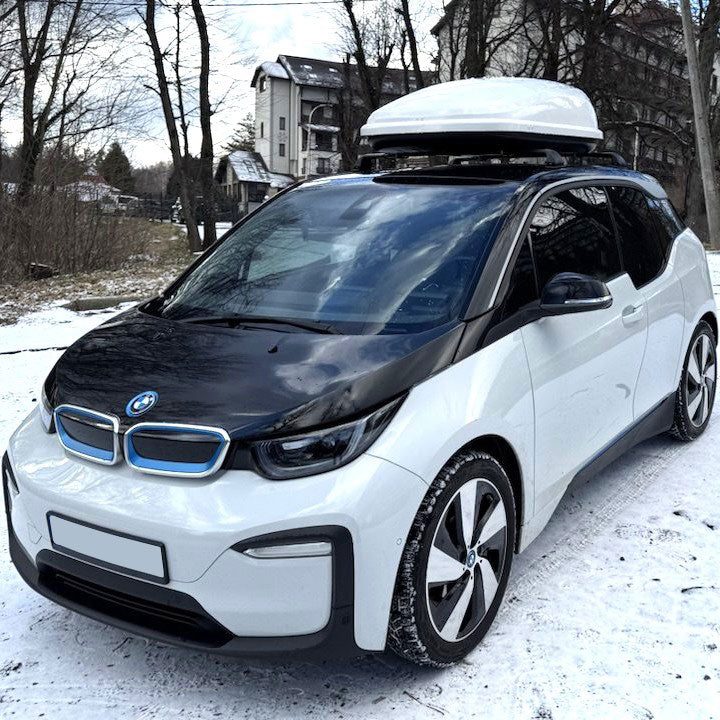
In this guide, you’ll learn how to install roof rails on BMW i3 step by step, using a system based on adhesive metal plates + magnetic crossbars — a clean, reliable alternative to suction systems and drilling.
Complete BMW i3 roof rack installation guide, based directly on the official manual with detailed explanations for every step.
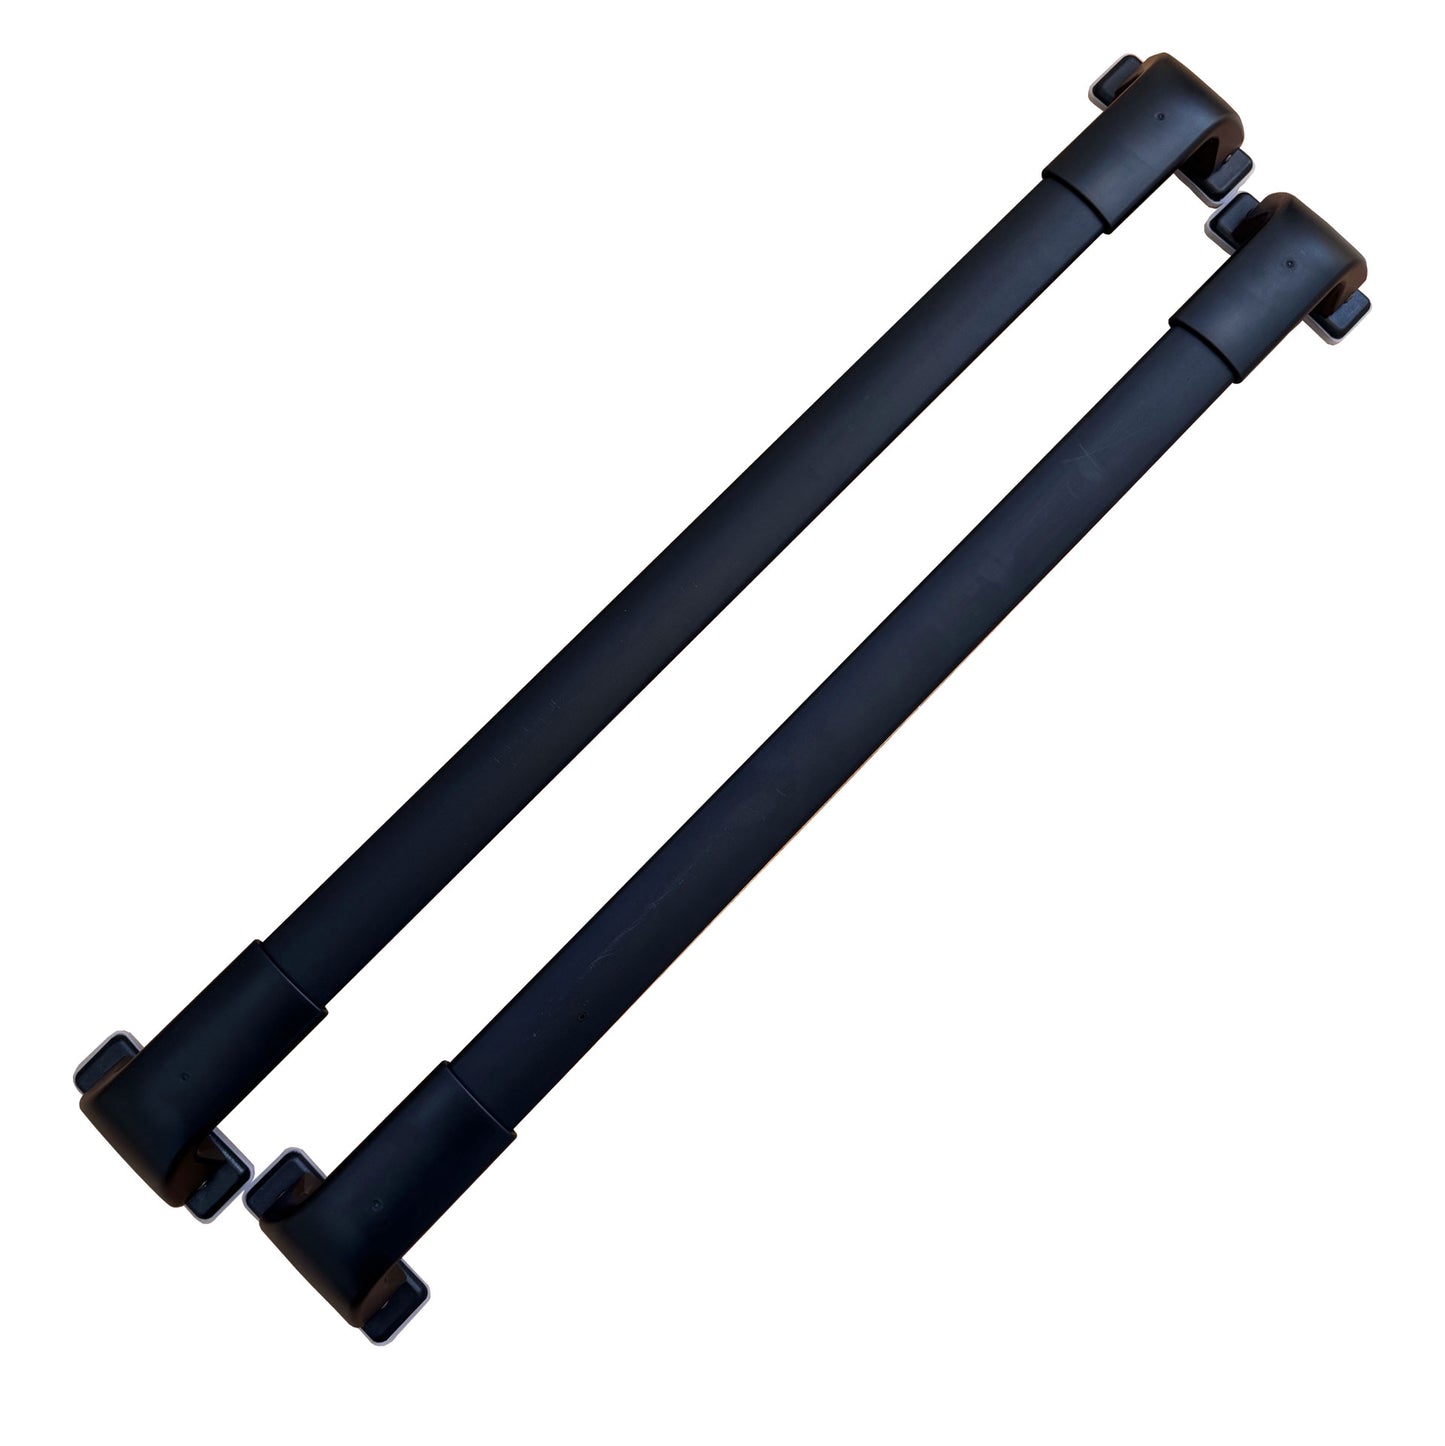
Roof Rails for BMW i3 basic set

BeeMods Roof Rails standard kit includes:
- Roof rails (cross bars) x2
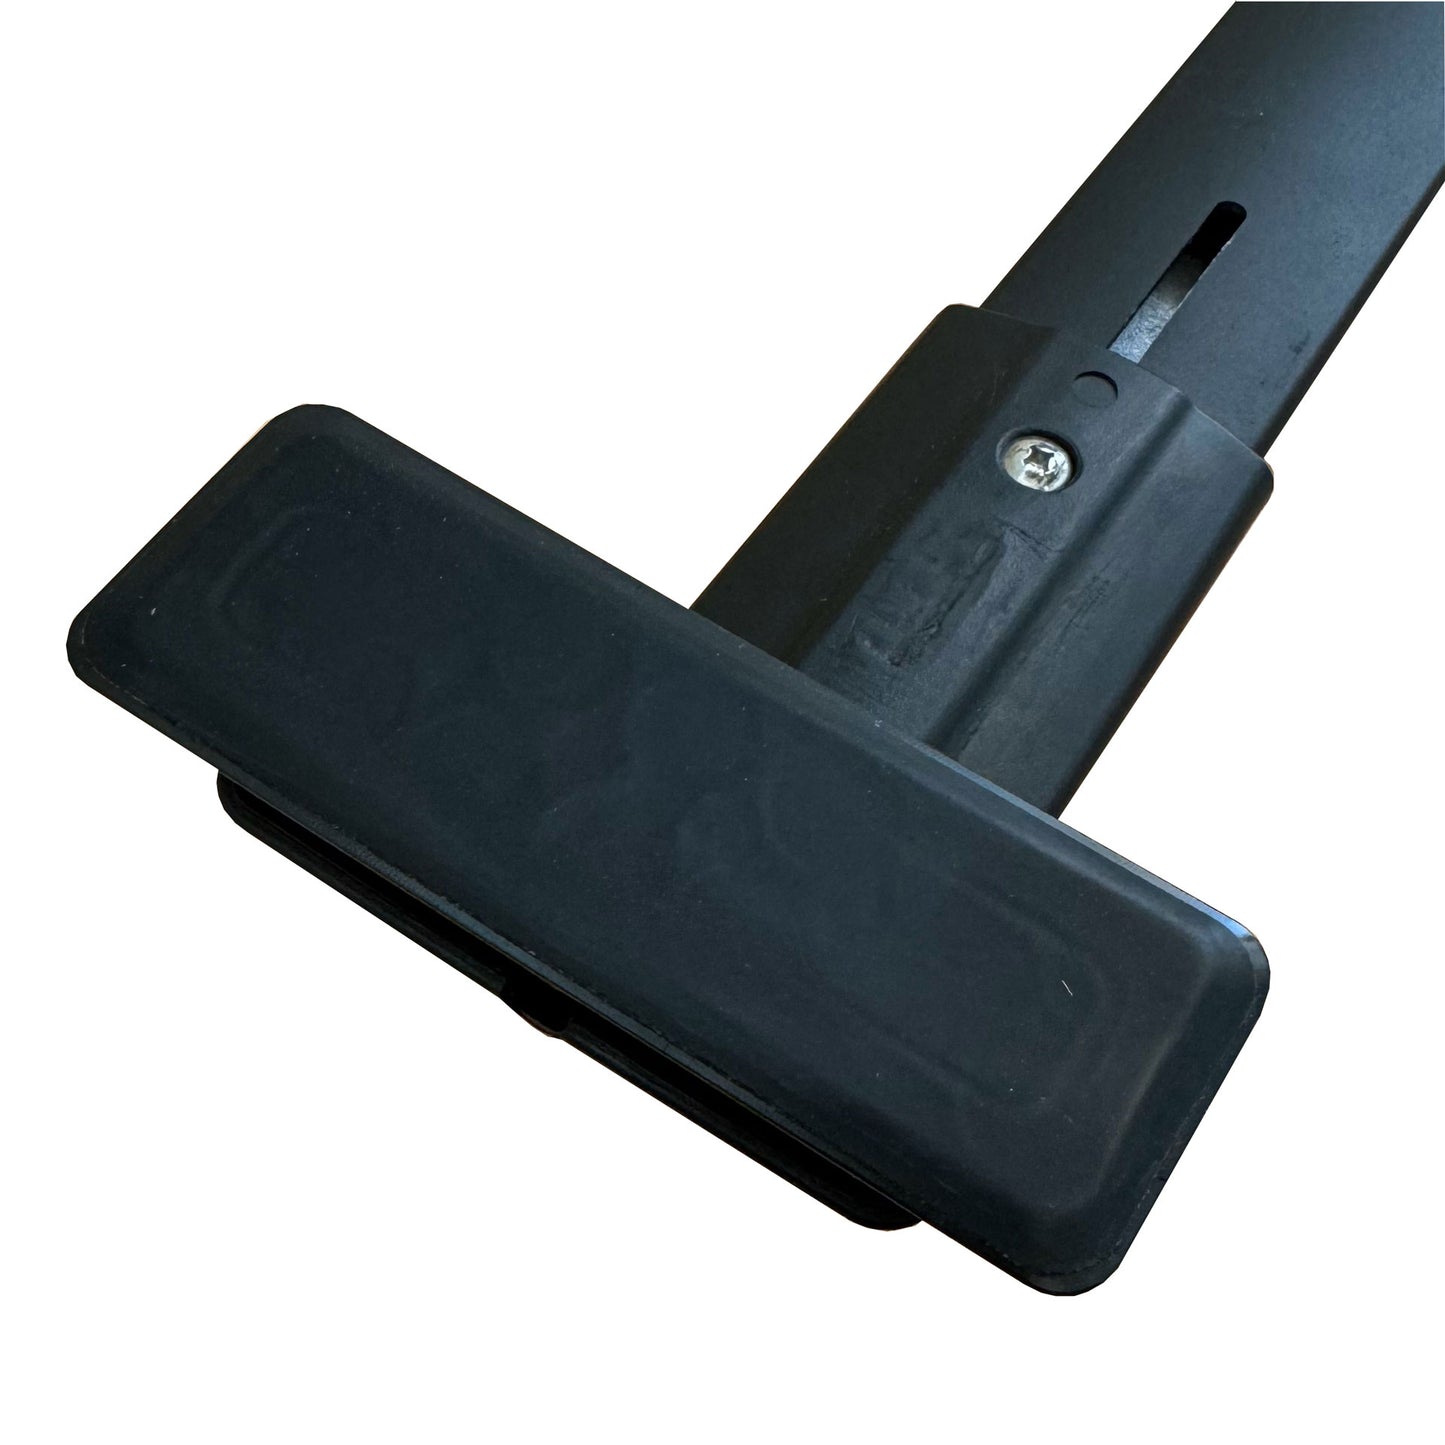
- Protective leg covers x4
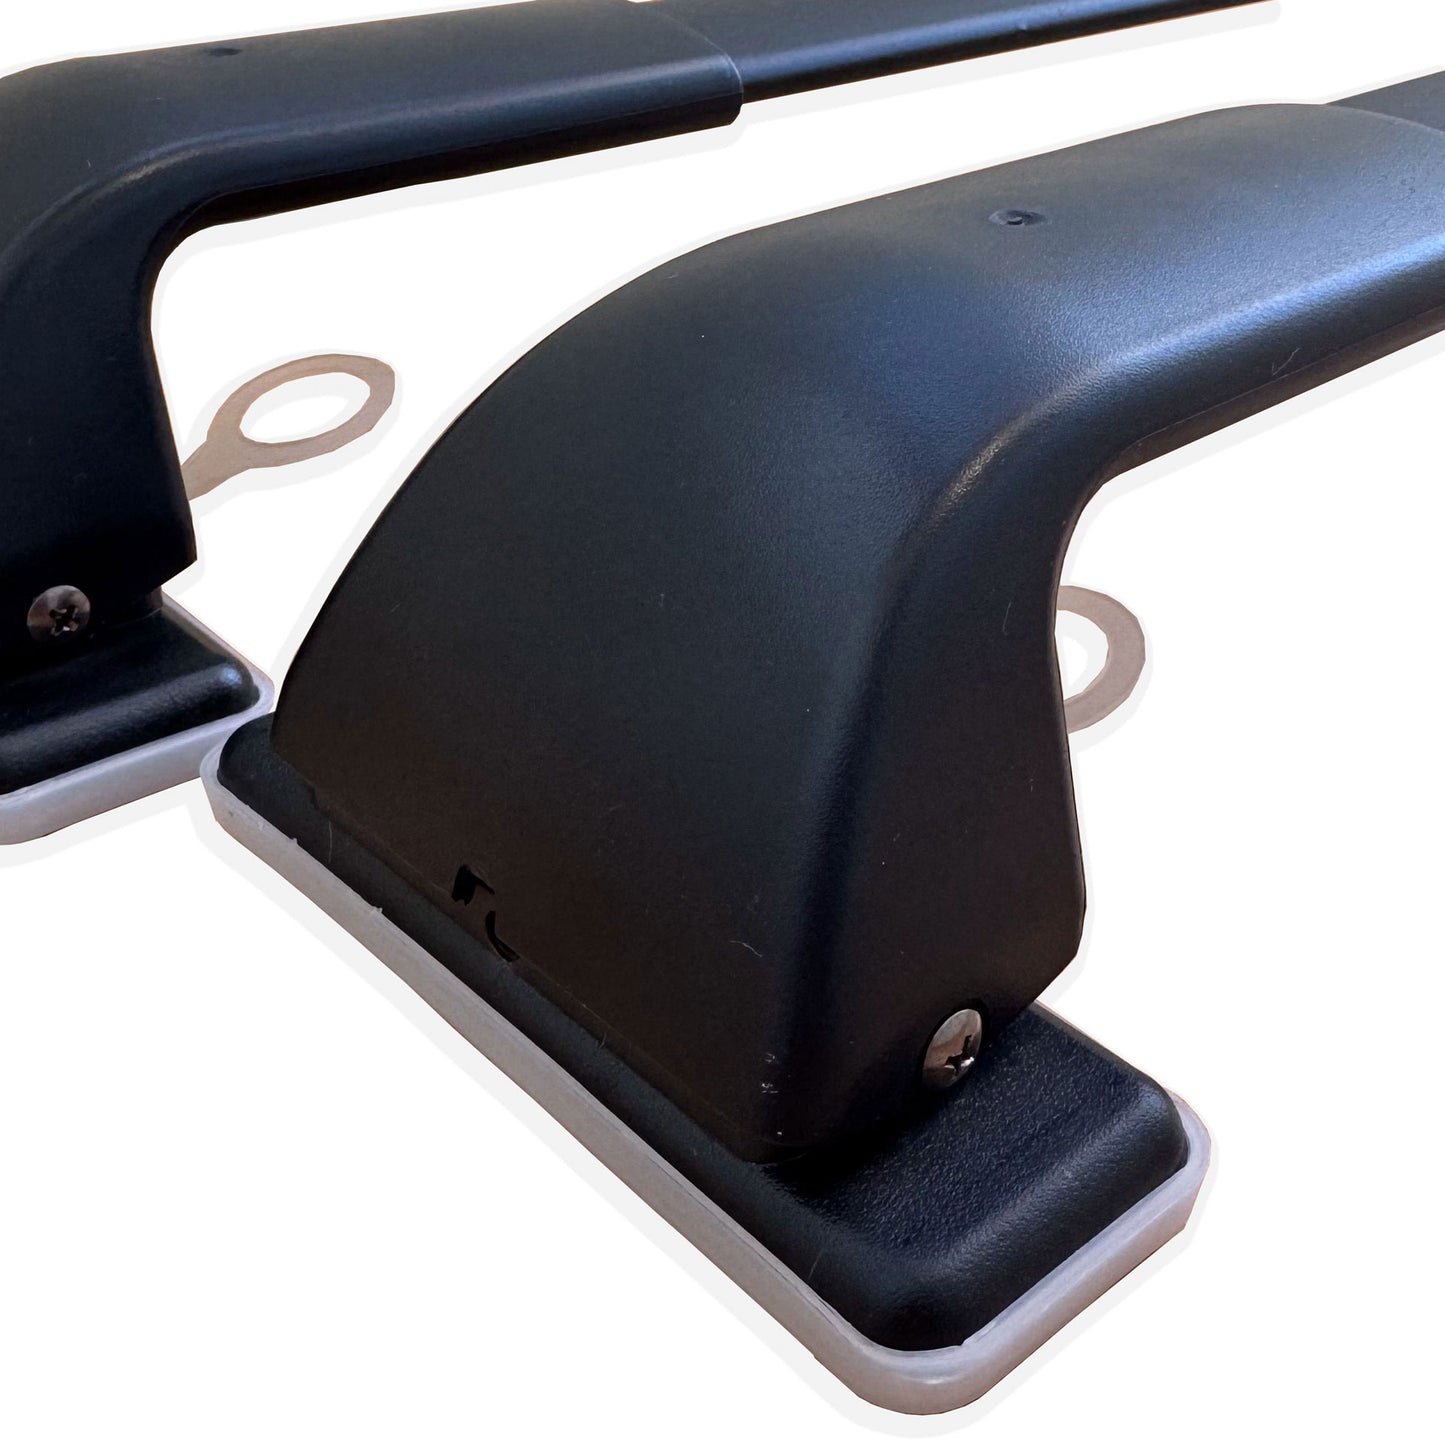
- Metal pads x4
- Degreasing wipes x2
- Hex key
- Anti-vandal screws x4
- Screwdriver (for disassembly)
Preparation Before Installing Roof Rails on BMW i3
This stage is critical. Most installation mistakes happen here.

1.👉 Remove the protective covers (2) from the rail legs before starting.
Position the Roof Rails on the Roof
2. Place the rails on the car roof to define correct placement.
According to the manual:
Front rail → ~34 cm from the front windshield.
Rear rail → ~38 cm from the rear windshield.
📌 Measurement is taken from the edge of the rail legs, not the bars.

👉 Important:
- Align both rails symmetrically
- Keep equal distance on left and right sides
This step defines the entire geometry of your BMW i3 roof bars installation.
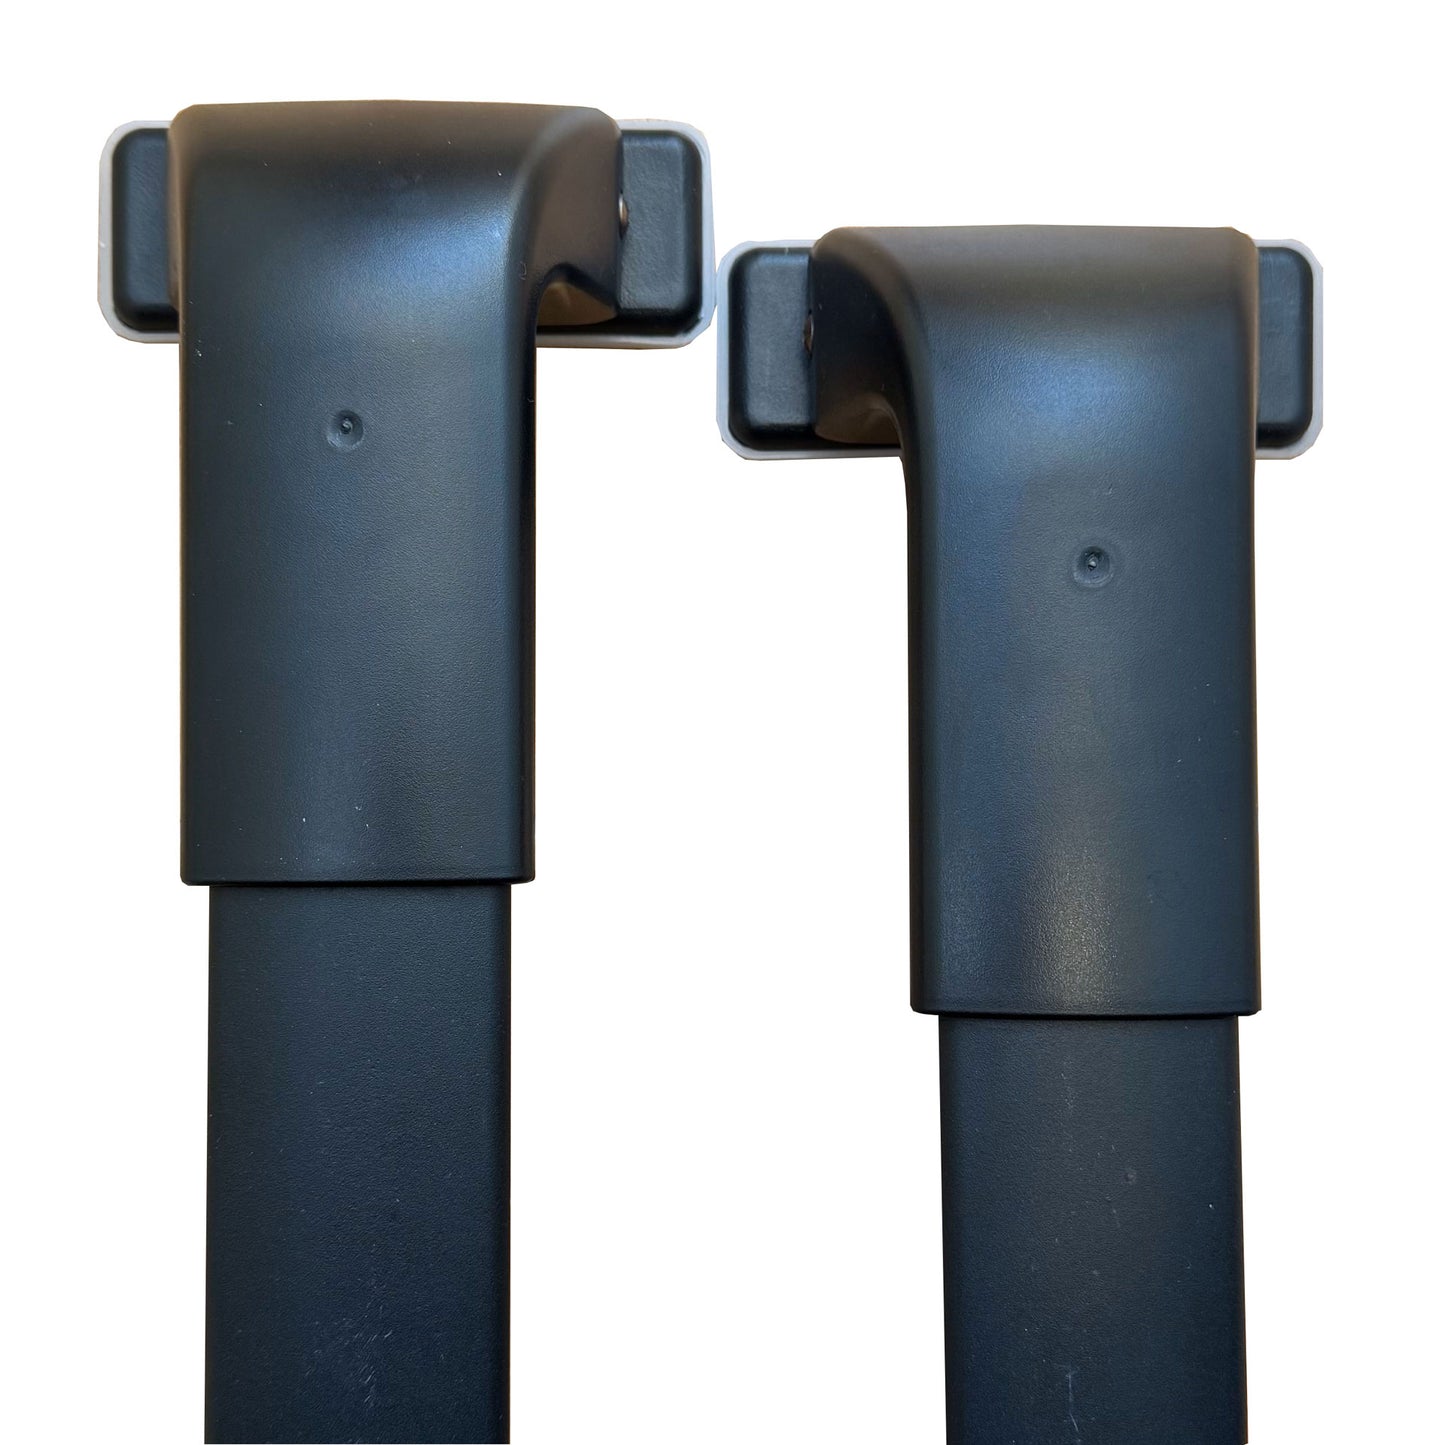
Adjust the Width of the Rails.
3. Each rail must be adjusted individually.

- Loosen screws inside the rail
- Adjust width
- Ensure: legs are 2–3 mm away from roof edges
- Tighten screws securely.
⚠️ Critical detail:
Front and rear rails have different widths. Adjust them separately. This ensures proper fit and load stability for your BMW i3 roof rack system.
Mark the Mounting Areas with Tape
4. Now define exact mounting positions.
We recomend theese simple steps:
- Apply masking/paper tape around each rail leg
- Follow the exact contour of the legs

👉 This marks where the metal mounting plates will be installed.
Remove Rails and Prepare the Surface
5. After marking:
- Remove the rails
- Clean the marked area
If dirty:
- use car body cleaner
Then:
- dry completely
- wipe with included degreasing wipes

👉 This is essential for adhesive strength. Poor cleaning = weak installation.
Temperature Requirements (Very Important)
6. Only if installing in cold conditions:
- below +10°C / 50°F

You must preheat the surface.
Use:
- - household or industrial hairdryer
- max temperature: 45°C
👉 This ensures proper bonding of adhesive plates.
Installing Metal Plates on BMW i3 Roof
This is the foundation of the entire BMW i3 roof rack installation.
Attach Adhesive Metal Mounting Plates
Steps:
- Remove protective film from adhesive backing
- Place plate inside the marked area
- Align to inner edge of the tape
- Press lightly
- Hold for 20–30 seconds

Repeat for all mounting points.
👉 These plates act as:
- permanent base
- load distribution layer
- anchor for magnetic rails
Remove Tape After Installation

Once all plates are installed: remove masking tape. Your roof is now ready for mounting the roof bars.
Special Case: BMW i3 with Sunroof
If your BMW i3 has a sunroof:
- install plates under sealing rubber

👉 Why this matters:
- prevents interference with sunroof
- maintains full functionality
This makes it one of the best roof rack solutions for BMW i3 with sunroof.
Installing Roof Rails on Metal Plates
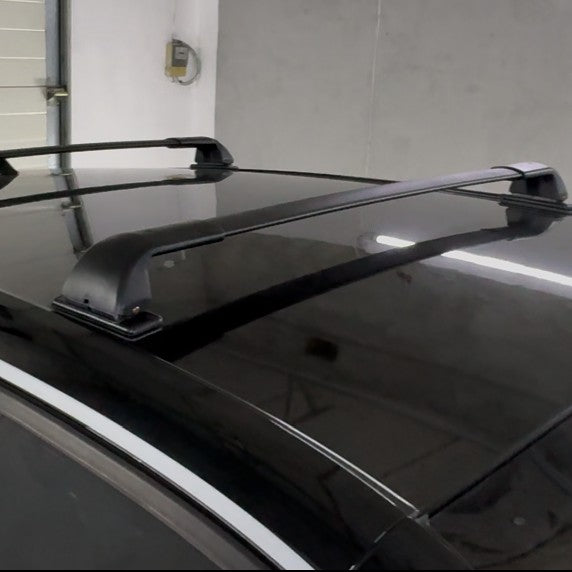
Now the system becomes a fully functional BMW i3 roof rack.
Attach Roof Rails to the Plates
The system uses magnetic mounting.

Steps:
- Reattach protective cover to one rail leg
- Position that leg on the plate
- Hold second leg in the air
- Slowly bring it to the plate
⚠️ Magnets are strong — control the movement carefully.
- Align edges precisely
- Repeat for second rail
Ensure Precise Alignment
Take time here. 👉 The rail legs must:
- align perfectly with metal plates
- sit evenly
This affects:
- safety
- aerodynamics
- appearance
This is a key step in bmw i3 cross bars installation.
How to Remove Roof Rails + Anti-Theft Protection
How to Remove the Roof Rails
Need to reposition or remove?
Steps:
- Insert screwdriver into side hole of rail leg
- Pull upward
- Magnetic connection releases

👉 This allows:
- easy repositioning
- temporary removal
- transport flexibility
Secure Rails with Anti-Vandal Screws
After installation:
- use hex key
- tighten anti-vandal screws
👉 This prevents:
- theft
- accidental detachment
Advanced Use Case: One Roof Rack for Multiple Cars
Here’s a powerful advantage:
You can:
- install metal plates on multiple vehicles
- use one set of roof rails
Then simply:
- remove rails from one car
- install on another
👉 This creates:
- multi-vehicle flexibility
- cost efficiency
- ideal for families or EV owners with multiple cars
This makes it one of the most versatile roof rack systems for BMW i3.
Why This Is the Best Roof Rack Solution for BMW i3
Unlike:
- suction racks (fail in cold)
- drilled systems (damage roof)
This system offers:
✔ no drilling
✔ safe for carbon roof
✔ reliable in winter
✔ removable crossbars
✔ clean minimal look
Conclusion: BMW i3 Roof Rack Installation Made Simple
Now you know exactly how to install a roof rack on BMW i3.
This system solves the biggest problems:
- no factory rails
- no drilling allowed
- unreliable alternatives
And gives you:
- freedom for travel
- extra cargo space
- confidence on the road
👉 Ready to install your own?
Check the product here:
👉 BMW i3 Roof Rails / Roof Rack System
FAQ: BMW i3 Roof Rack Installation
Can you install a roof rack on a BMW i3?
Yes. You can install a roof rack on a BMW i3 using a no-drill roof rail system with adhesive metal plates and removable magnetic crossbars.
Do I need to drill into the BMW i3 roof?
No. This BMW i3 roof rack installation does not require drilling. The system uses adhesive mounting plates, so there are no holes or structural roof damage.
Is this roof rack safe for the BMW i3 carbon roof?
Yes, when installed correctly according to the installation guide. The system is designed as a no-drill solution for BMW i3 roof rails and avoids damaging the carbon roof structure.
How much weight can the BMW i3 roof rack carry?
The maximum safe dynamic load while driving is 40 kg / 88 lbs. This is the recommended real-use load limit for carrying cargo on the BMW i3 roof rack.
Can I remove the roof rails after installation?
Yes. The crossbars can be removed when needed. The metal mounting plates are designed as a permanent base, while the rails can be detached and reinstalled.
Does the BMW i3 roof rack work with a sunroof?
Yes, it can work with BMW i3 models with a sunroof. In this case, the metal plates should be installed under the sealing rubber so they do not interfere with sunroof opening.
Can I use one set of roof rails on multiple cars?
Yes. You can install separate metal plate sets on multiple vehicles and move one set of roof rails between them when needed.